How to Clean, Maintain, and Repair Professional Equipment
Residential Cleaning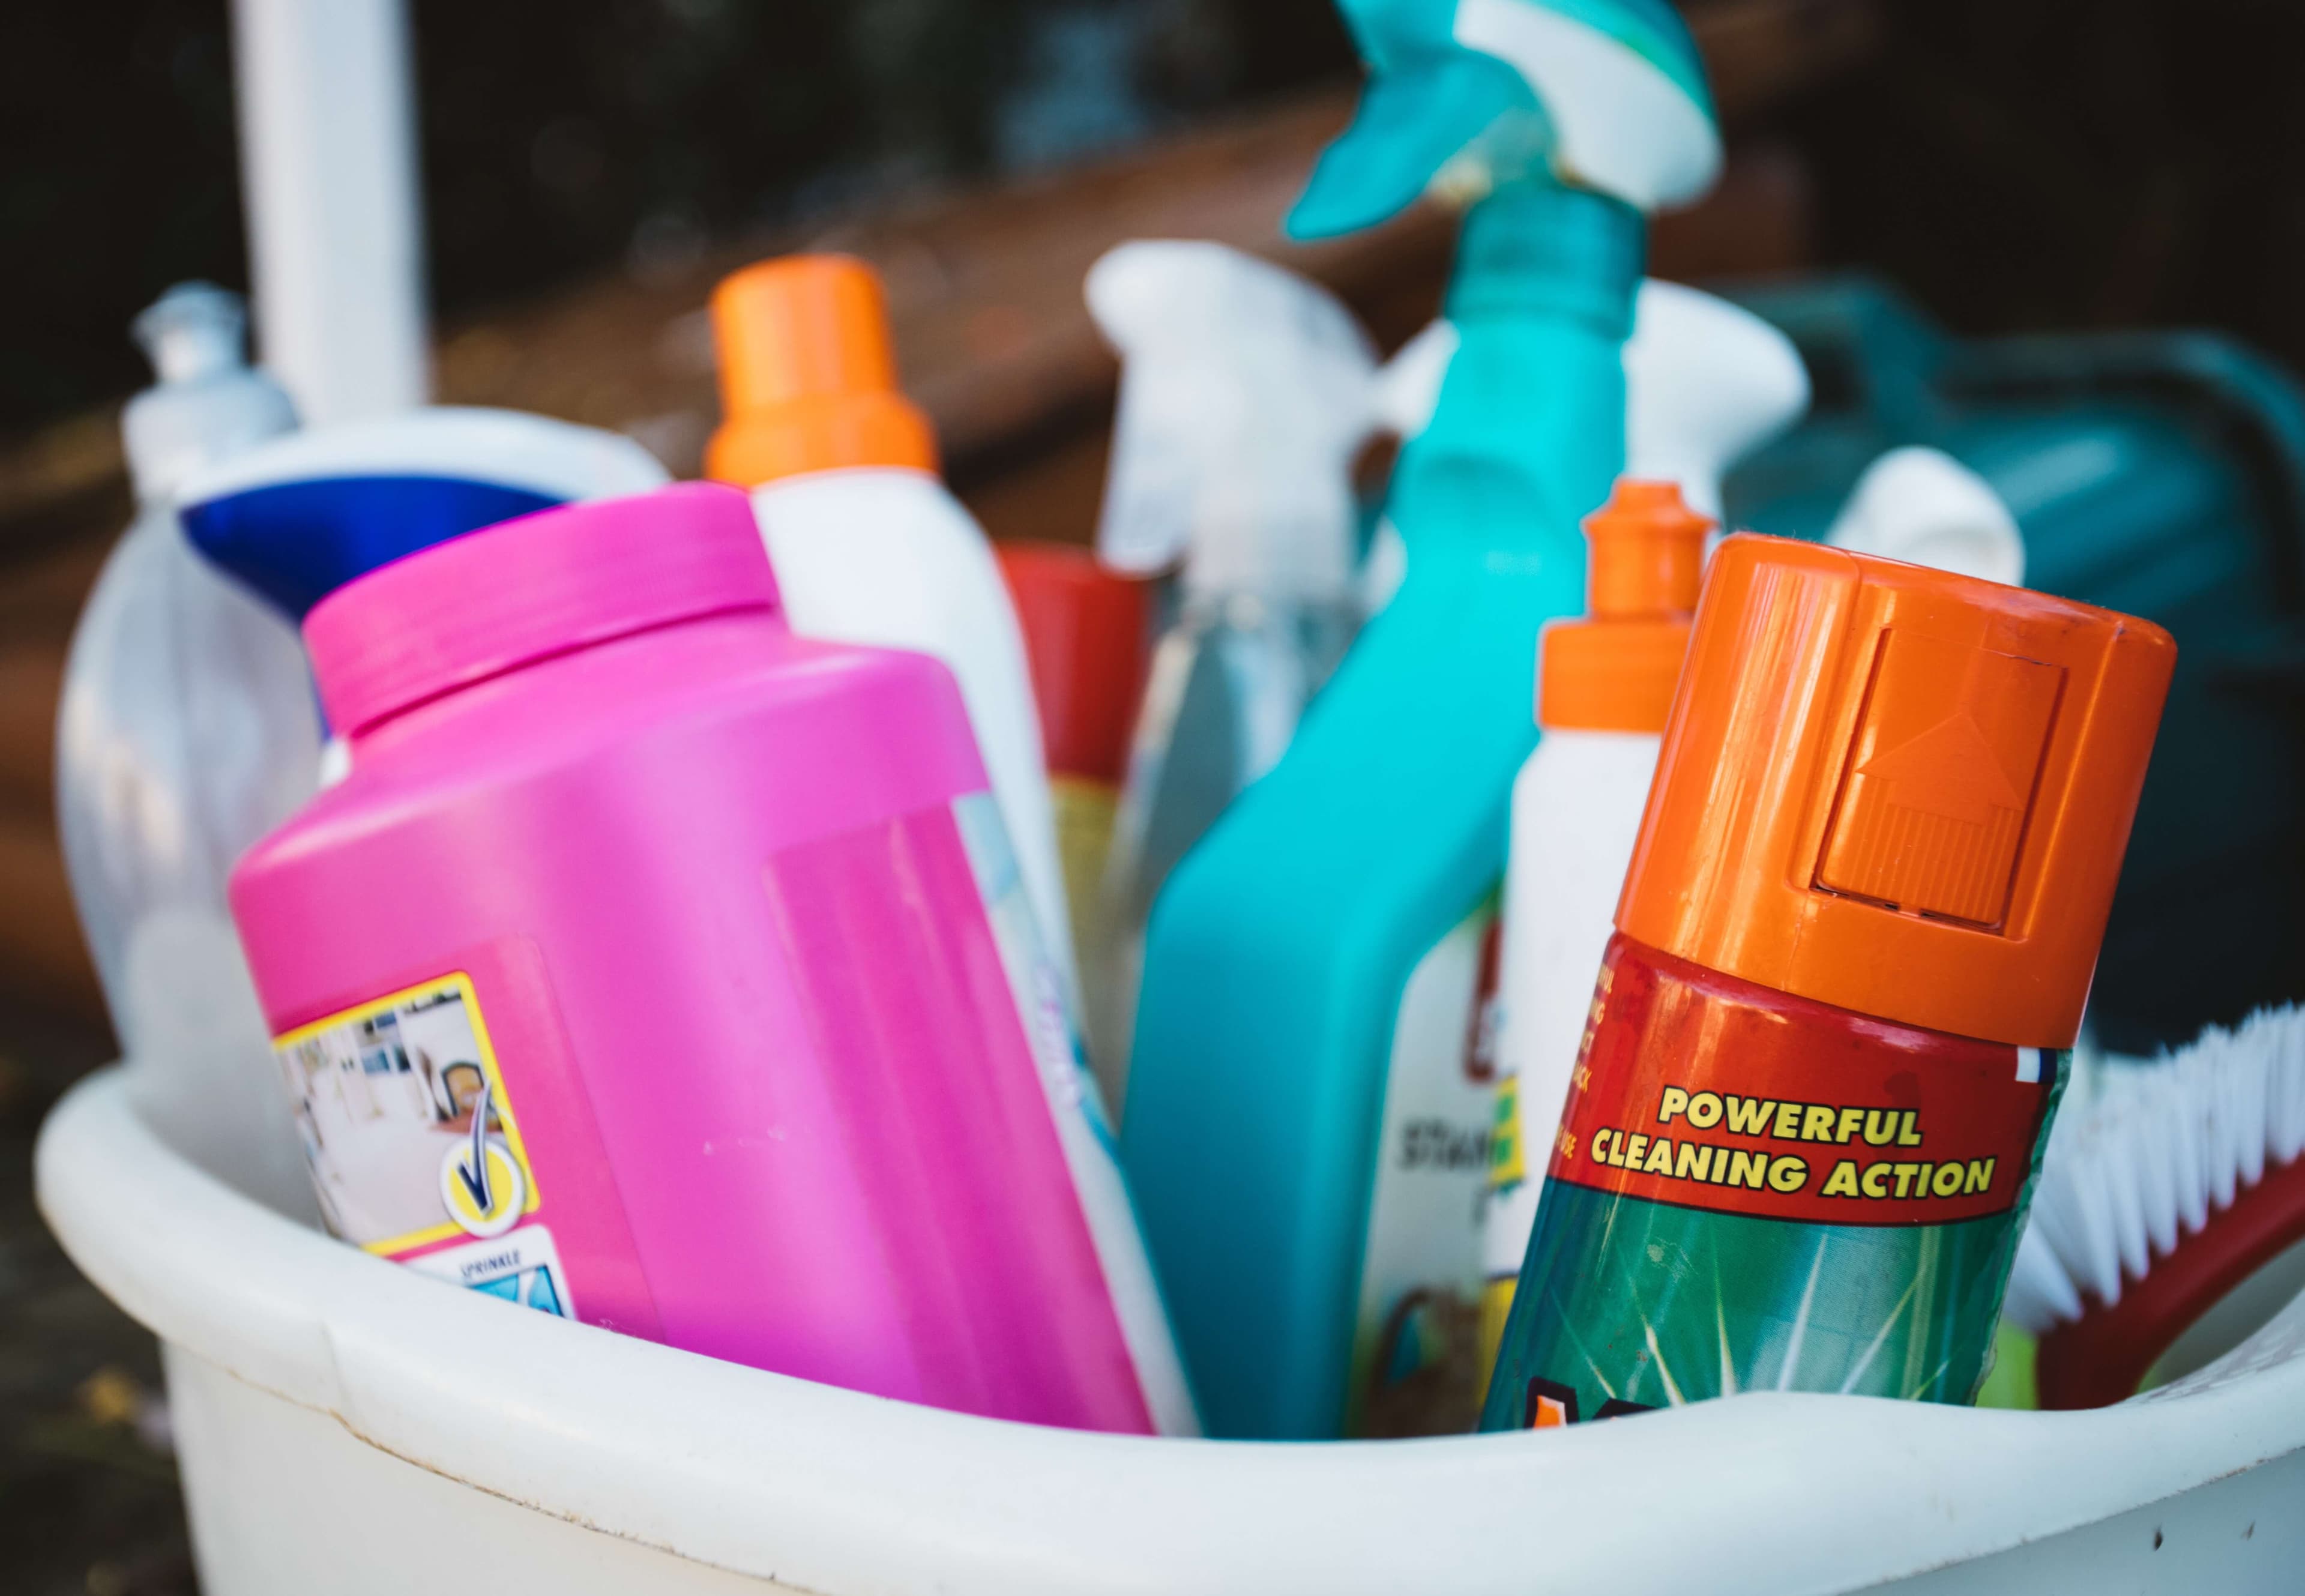

By Angela RushJune 16, 2023
Naturally, your professional cleaning and maintenance equipment will depreciate in value over time. To ensure your equipment can last you longer than its expected depreciation rate, cleaning all hardware and tools is the first step.
If you notice your equipment isn’t functioning or running properly, get it checked out. The last thing you want is to pour money down the drain because you neglected the early signs of wear and tear.
Moreover, properly taking care of your equipment will ensure that all tasks are completed the right way. If clients notice that your services are not up to par, they may question your professionalism. This could lead to a loss in customer satisfaction and loyalty to your business.
Cleaning and maintaining your cleaning service supplies and equipment is easy. As you form a routine around cleaning your equipment and supplies, it’ll become a common practice for you.
Before diving into cleaning your vacuum cleaner, make sure you are familiar with its type. Most cleaning services will utilize an upright or canister vacuum cleaner. Fortunately, both of these types of vacuums can be broken down for easy cleaning access.
When cleaning your vacuum cleaner, you will need:
To prevent spending hours cutting trapped hair from the vacuum bristles or scrubbing furiously to remove dirt and grime, clean your vacuum cleaner once a week. By the end of the week, your cleaning services will have tackled many different floors and carpets. Clearing hair, dirt, and grime from your vacuum will ensure that it’s ready to use for the upcoming week.
One of the many tools of the cleaning industry that should be washed daily is the broom. Dirt, dust, and other particles picked up on the broom’s bristles will lead to a faster rate of depreciation. Also, as more particles take up space on the broom, the more likely you are to just shove dirt around.
Soaking the bristles of your broom in warm water and detergent at the end of the day will help ensure your broom’s quality remains.
Similar to brooms, all mop heads should be cleaned daily. Depending on the type of mop head, you can choose to wash it by hand or in the washing machine.
If your mop head is not machine washable, you can soak it in a mixture of hot water and bleach. Allow the mop head to sit in the mixture for up to 15 minutes. Before storing the mop, make sure it is completely dry. If the mop head is not completely dry, bacteria can collect in the fibers.
Well-maintained mop heads do not need to be replaced more than every two to three months.
Even though your sponges and brushes are consistently working with soap and water, that doesn’t guarantee that they’re clean. Mildew and bacteria can easily be trapped in the small grooves of these tools.
The best way to clean your sponges and brushes is to let them soak in a mixture of ¾ cup of bleach and a gallon of hot water for fifteen minutes. After they have soaked, you should rinse them off thoroughly with warm water.
The process of cleaning your duster really depends on which type of duster you own. There are many different types of dusters for you to choose from. The most common are the Swiffer® duster, feather duster, and microfiber duster.
If your duster has a non-reusable head, then you will want to consider maintaining your duster’s feathers and fibers. The best way to do this is to make sure after each use you are removing the clumps of dust from the head. This will eliminate any need to consistently hand wash your duster head, which can be done similarly to a mop head.
Even though your cleaning buckets typically are always filled with warm water, cleaning agents, or soap, they can still be dirty. It’s important to keep buckets free of mildew and mold buildup. You don’t want to be submerging your sponges, brushes, or cloths in contaminated mixtures.
To clean these supplies, make sure to thoroughly rinse and dry all surfaces. Scrubbing a detergent or soft liquid soap on the interior surfaces should be done if you are dealing with mixtures that use bleach or other hard chemicals. This will remove chemical residue. Make sure to do this after each use of the cleaning buckets.
Maintaining your spray bottles is easy. At the end of the day, you should wipe down the exterior surfaces of the bottles. This helps remove any chemical residue from the bottles.
Additionally, you will want to empty your spray bottles once a month to clean the interior. You can do so by letting the bottles soak in a mixture of warm water and detergent in a cleaning bucket. Let the bottles sit in the mixture for fifteen minutes. Then, you can scrub the bottle’s interior with a long bottle brush to remove any chemical residue.
Make sure to rinse thoroughly and let the bottles dry facing down. Using a kitchen drying rack may be useful for this final step.
Cleaning your caddy can be done similarly to your cleaning bucket. If you don’t want to scrub your caddy, you can opt for a wipe-down of the surfaces with a microfiber cloth and antibacterial cleaning agent. The goal of cleaning your caddy is to ensure your cleaning supplies are being placed in a clean area.

Cleaning your own supplies after cleaning for an entire workday may seem like a nuisance, but it will help maintain them and limit the need for replacements or repairs.
Before diving into haphazardly cleaning your tools and equipment, make sure you are properly prepared. Just like you would clean anything else, you will need to consider the right procedures and cleaning agents necessary to get the job done.
Keep your cleaning area free of additional clutter. Set up the area in a way to ensure that all your tools and equipment can be cleaned and dried efficiently. Clearing a counter space or table in your home can achieve this.
Also, think about the placement of your cleaning agents. You don’t want them to spill while you are in the middle of cleaning. This will just cause an unnecessary mess for you to pick up.
Being consistent in cleaning your tools is the first step in taking care of them. All tools should be wiped down with an antibacterial agent in between cleaning projects.
If you set a cleaning schedule for your tools, you will have a better chance of remembering and maintaining their cleaning routine. Your supplies will get ample use over time, but that doesn’t mean they will lose their value if they are properly cared for.
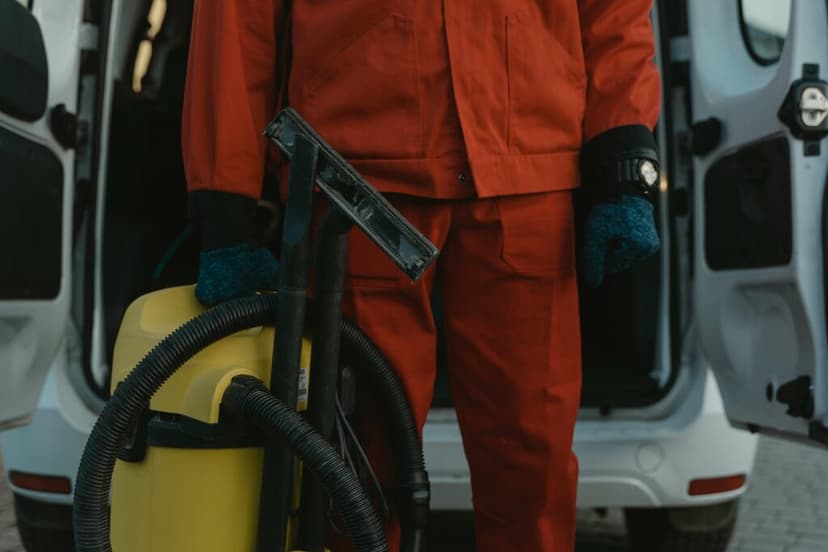
Cleaning equipment can consist of bulkier items like vacuum cleaners, brooms, dust pans, mops, buckets, and more.
Purchasing a trunk organizer may be the best option for you when you want to store multiple items in your car overnight. Trunk organizers are durable and easy to manage. They can be taken out of your car as a single unit for when you need your trunk space for something else.
Also, having a designated storage area like a closet or hanging rack will help keep your equipment out of the way and stored.
To ensure the best use of a closet or hanging rack, make sure to keep things organized. Most vacuum cleaners can be left on the floor, but keep them upright. Same with your brooms and mops. This will prevent the equipment from being accidentally stepped on or broken.
Moreover, your closet should be organized in a way that you can easily grab your equipment. Try to keep your closet filled with only the necessary tools and equipment. You can always keep backstock stored in organizational bins, too, but try to keep them out of the way.
The typical rule of thumb is to repair any of your cleaning equipment or supplies as soon as you notice they aren’t performing properly.
Some cleaning supplies like sponges, brushes, and cloths should be replaced after a couple of months. Vacuum cleaners are the most common tool that will need fixing, and cleaners should inspect their vacuums every six months to determine the need for repair.
Through the Taskbird app, you will have the ability to manage your cleaning teams by streamlining your communication with your employees. You can ensure that all company tools and equipment are being cleaned and taken care of by assigning it as a final task after each cleaning project.
Expand your lawn care service crew with confidence. Streamline your onboarding process with setting up an employee handbook.
Expand your lawn care service crew with confidence. Streamline your onboarding process with setting up an employee handbook.

Lawn care service business owners should strategically price their services by analyzing job costs, considering customer value, and regularly reviewing and adjusting prices to maintain competitiveness.
Lawn care service business owners should strategically price their services by analyzing job costs, considering customer value, and regularly reviewing and adjusting prices to maintain competitiveness.

Provide top-notch move-out cleaning services by understanding what it takes to operate this specific field service business.
Provide top-notch move-out cleaning services by understanding what it takes to operate this specific field service business.